Posted on November 14, 2013
Yesterday I had to use Windows with Eclipse and I needed access to our Subversion repository. But we use SSH with certificates and I had a lot of trouble to get a working system. At the end I have installed TortoiseSVN and PLink to test the access.
First use PLink and check the access to your Subversion server. The certificate can reside within a running PageAnt or you can set the local path to your private key direct in the command-line.
"c:\program files\plink.exe" -2 -P <port> -noagent -i "H:\\keys\\subversion.ppk" user@server
This should create a connection to the user account on the Subversion server. You have to set double backslashes within the key parameter, because PLink is a Unix program, which uses backslash as escape character for the following character.
An alternative will be:
"c:\program files\plink.exe" -2 -P <port> user@server
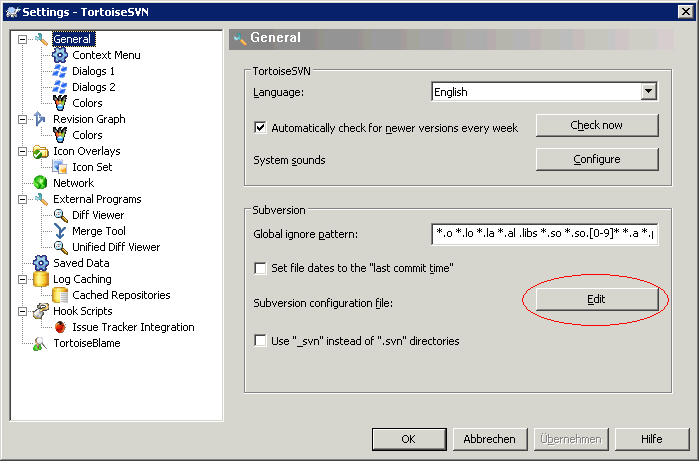
if you use PageAnt and your certificate is imported there (you should look twice!). If you have a working connection, you can close it and now open TortoiseSVN->Settings. You will find a button, which lets you open the configuration file for Subversion.
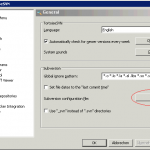
TortoiseSVN settings
In the configuration file define your own [tunnel] entry, which you can use as protocol extension. In example, you define a [tunnel] named as “work”, you can access the repository with:
svn+work://user@server/repository-path
Open the configuration file and scroll down to the [tunnels] sections. Now you can define:
work = "C:\\Program Files\\PLink.exe" -v -2 -P <port> -i "H:\\keys\\subversion.ppk" -noagent
You have to use double backslashes also for the program path to PLink, because TortoiseSVN uses also the UNIX notation. Now You can test the [tunnel] with your TortoiseSVN installation. Open your repository browser and enter the Subversion Uri as described above. Some command windows will be open, this is a side effect of PLink. If you can see the repository tree, we should test it without the explicit key notation and work with PageAnt.
work = "C:\\Program Files\\PLink.exe" -v -2 -P <port>
If the [tunnel] works again (PageAnt should run and the key should be imported), we replace the PLink with the TortoiseSVN internal variant, which is called TortoisePLink. This program doesn’t open a command window.
work = "C:\\Program Files\\TortoiseSVN\\bin\\TortoisePLink.exe" -v -2 -P <port>
Test it again with the repository browser. If all works fine, we can now open Eclipse to configure a repository there. I have installed Subclipse and JavaHL as connector. Go to Window->Preferences->Team->SVN and you can see the client “JavaHL (JNI)” with a specific version number. I’m not sure, whether or not Eclipse loads the Subversion config file from the Tortoise installation as default. So I have changed the location to the config file, which we have modified above. Normally you can find it within “C:\Documents and Settings\\Application Data\Subversion”. Check the content of the config file there, it should contain your [tunnel] definition.
Back to Eclipse, save the settings and open the Subversion perspective. Add a new repository and use the Uri:
svn+work://user@server/repository-path
That’s all.